How To Start
This guide walks you through installing, configuring, and using the Obfuscator to strengthen your game's code. By the end, your code will be significantly more resistant to reverse engineering, replication, and unauthorized modification.
Step 1 - Get & Install Obfuscator
The very first step is to grab either Obfuscator Free, Obfuscator Pro, or Obfuscator Source from the Unity Asset Store and download it into your project.
The main difference between these three versions: the Free version does not support MonoBehaviour classes or namespace obfuscation in general, and the security functions are not available either. The Pro version contains all functions, while the Source version additionally includes the source code of the Obfuscator itself.
Once installed, the Obfuscator project structure under Assets/GUPS/Obfuscator will look like this.
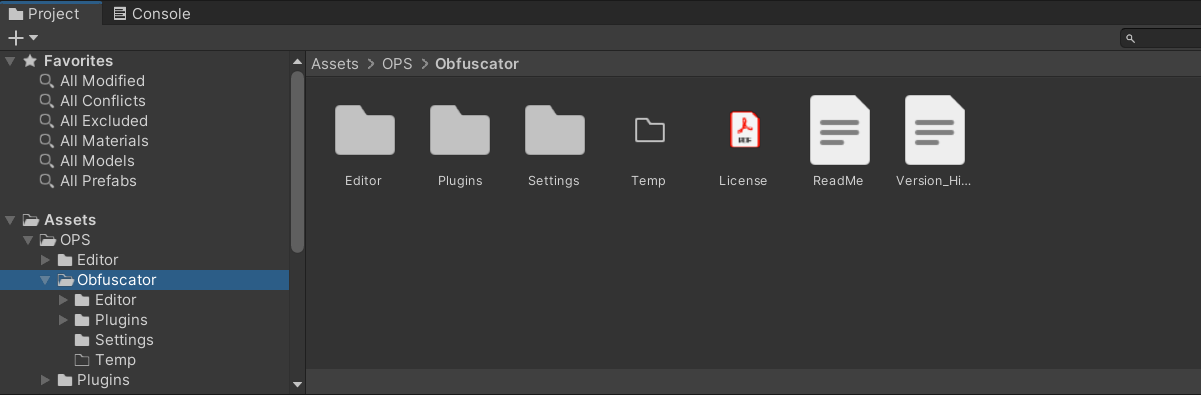 Figure 1 - The project structure of Obfuscator.
You'll find the following directories and files in the root directory of the Obfuscator:
- Editor: Contains all resources and sources for the editor.
- Logs: The default location for log files.
- Plugins: Contains platform-specific plugins.
- Settings: Stores the Obfuscator setting files.
- License.pdf: The license that applies to the use of the Obfuscator.
- ReadMe.md: A readme file that contains the same content as this page, but locally.
- VersionHistory.md: A detailed record of all the changes made in each version of the asset.
Step 2 - Integration
GuardingPearSoftware's Obfuscator is designed for seamless integration – no complex setup required, just plug it in and it works! Once activated, it automatically obfuscates your code on every build, safeguarding your game without adding any extra burden to your workflow.
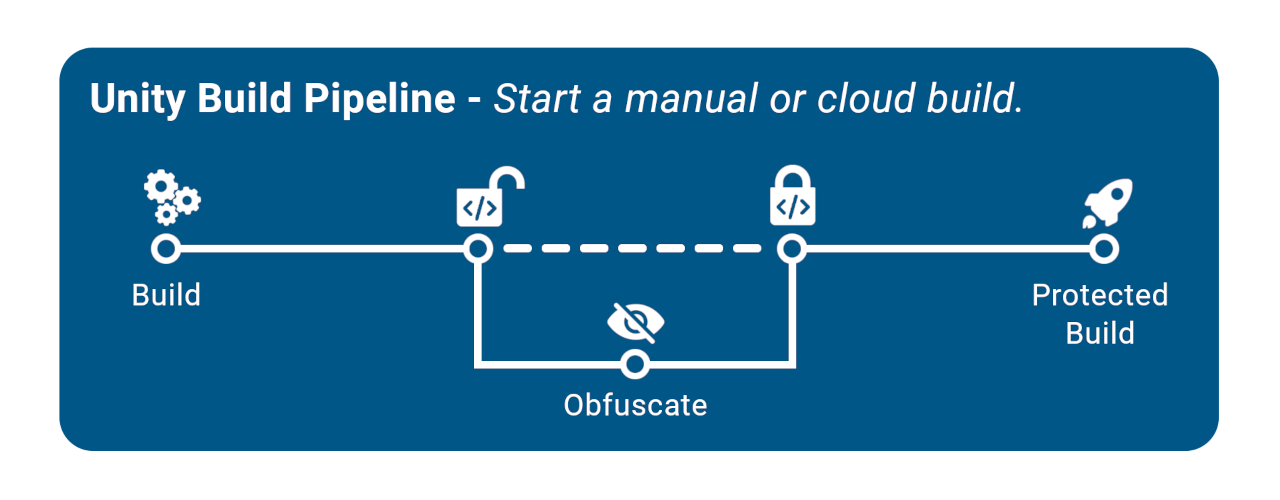 Figure 2 - The integration is designed to be plug & play.
Build in Editor. Simply build your game in the editor, and the Obfuscator will automatically run within the build pipeline to protect your game.
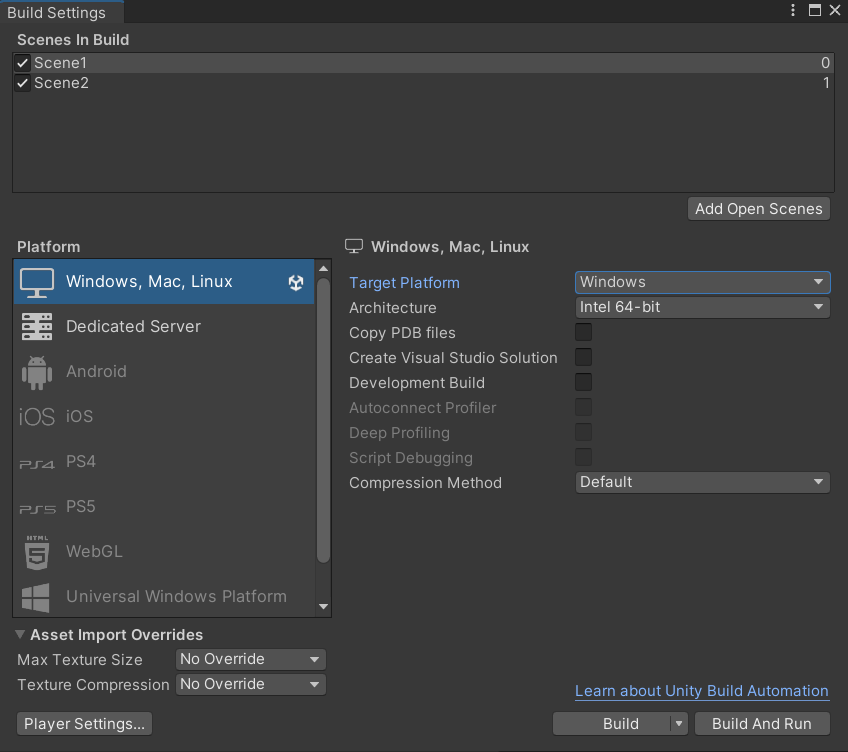 Figure 3 - Building in the Editor will trigger the obfuscation automatically.
Build with CI/CD. Custom build scripts and CI/CD pipelines are also supported.
using UnityEditor;
using System.Diagnostics;

public class ScriptBatch
{
    [MenuItem("MyTools/Windows Build With Postprocess")]
    public static void BuildGame ()
    {
        // Get filename.
        string path = EditorUtility.SaveFolderPanel("Choose Location of Built Game", "", "");
        string[] levels = new string[] {"Assets/Scene1.unity", "Assets/Scene2.unity"};

        // Build player.
        BuildPipeline.BuildPlayer(levels, path + "/BuiltGame.exe", BuildTarget.StandaloneWindows, BuildOptions.None);

        // Copy a file from the project folder to the build folder, alongside the built game.
        FileUtil.CopyFileOrDirectory("Assets/Templates/Readme.txt", path + "Readme.txt");

        // Run the game (Process class from System.Diagnostics).
        Process proc = new Process();
        proc.StartInfo.FileName = path + "/BuiltGame.exe";
        proc.Start();
    }
}
To run automatically inside the Unity build pipeline, the Obfuscator uses several hooks:
- IPreprocessBuildWithReport: An interface used to receive a callback before the Player build starts. During this phase, the Obfuscator performs an analysis of the assets.
- IFilterBuildAssemblies: An interface used to receive a callback to filter assemblies out of the build. During this phase, the Obfuscator removes the reference to itself in release builds.
- IPostBuildPlayerScriptDLLs: An interface used to receive a callback just after the player scripts have been compiled. During this phase, the Obfuscator performs the actual obfuscation.
- IUnityLinkerProcessor: An interface used to receive a callback related to the running of UnityLinker. During this phase, the Obfuscator ensures compatibility with IL2CPP.
- IPostprocessBuildWithReport: An interface used to receive a callback after the build is complete. During this phase, the Obfuscator obfuscates any assets that were not obfuscated earlier.
These hooks can be found in the BuildPostProcessor.cs file at Assets/GUPS/Obfuscator/Editor. If you use custom hooks, or assets that use their own pipeline hooks, have a look at the callbackOrder and make sure the Obfuscator runs last.
public int callbackOrder
{
    get { return int.MaxValue; }
}
Step 3 - Setup Settings
The Obfuscator has a centralized configuration that applies to the entire obfuscation pipeline. You can find it at Project Settings -> GuardingPearSoftware -> Obfuscator.
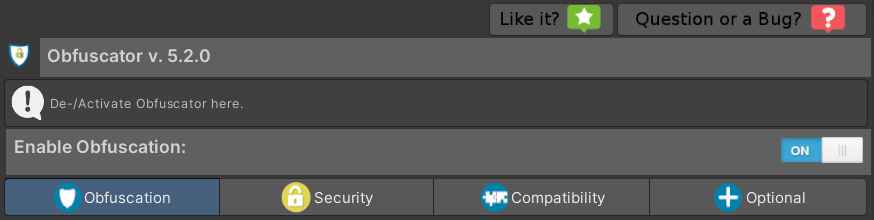 Figure 4 - The global settings of Obfuscator are applied via the settings window.
The obfuscation settings are organized into 4 categories:
- Obfuscation: General settings for code obfuscation. This includes which assemblies should be obfuscated, as well as detailed options for obfuscating their classes and members.
- Security: Advanced security settings, such as 'String Obfuscation', 'Random Code Generation', etc.
- Compatibility: Certain third-party assets require specific configurations to remain compatible with obfuscation, owing to the unique way Unity operates.
- Optional: Optional integration settings, such as 'Custom Obfuscation Pattern', 'Logging', 'Name Mapping', etc.
Note
In most cases, the default settings work best for the majority of games and applications.